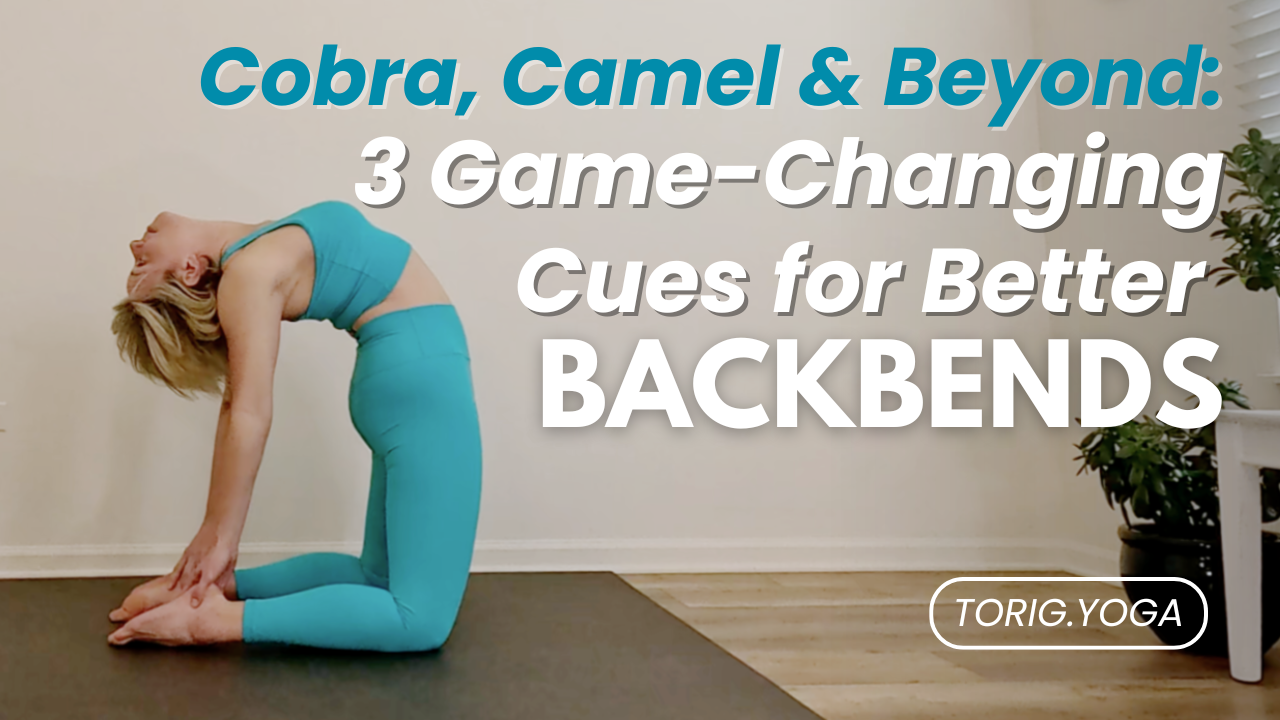
Cobra, Camel & Beyond: 3 Game-Changing Cues for Better Backbends
May 30, 2025Let’s talk backbends.
For years, I thought I was doing them “right.” I’d push my hips forward, throw my chest back, and hope for the best. And while that might look like a backbend from the outside, inside? My low back was screaming.
It took time, study, and some major trial and error to learn how to make backbends feel as good as they look. Now, I teach those lessons to my students—especially women over 40 who are ready to deepen their practice in a way that’s both safe and seriously transformative.
These three cues completely changed the game for me—and once you feel them in your body, you’ll never go back. They apply to every backbend, whether you're belly-down, upright, or upside down.
1. Lift your ribs up—and knit them in
Most people initiate a backbend by pushing their spine backward. But here’s the shift: Think up, then back—and do it with control.
Before you even start your backbend, imagine pulling your ribcage up and away from your pelvis, then gently knitting the front ribs together to avoid flaring and dumping into the low back.
That one adjustment alone will create space in the spine, protect your lower back, and give you more freedom to explore deeper postures safely. It’s not about how far you can go—it’s about how well you can support your spine along the way.
2. Posterior tilt first, hips forward last
One of the most common mistakes I see in backbends? Leading with the hips.
Before you lean back, you need to move the hips into a slight posterior tilt—that means your tailbone draws down and under, lengthening your low back. This tilt sets the spine in a more supportive position and helps activate the muscles that stabilize the pelvis.
Only after you’ve lifted and lengthened the spine and begun the backbend from the thoracic spine does the pelvis start to come forward—and that part is last, not first.
Most of us are taught to “push the hips forward” to deepen the shape. But pushing forward too early just creates compression. This cue flips that script—and your back will thank you.
3. Use your glutes—but don’t grip them
Let’s settle it: your glutes are meant to work in backbends. But there’s a big difference between healthy engagement and overcompensation.
Instead of clenching or over-squeezing, think of pressing your feet into the floor and letting that action turn the glutes on just enough to support your pelvis. At the same time, gently hug your inner thighs toward one another to create balance through the hips.
When your glutes and inner thighs work together, you get a supported, powerful base—and the kind of backbend that feels strong, not sketchy.
Final Thoughts: Don’t Just Bend—Evolve
Backbends don’t have to feel crunchy, scary, or inaccessible. When you learn to move with intention—and apply smart, supportive technique—your entire practice shifts.
These three cues are just the beginning.
Ready to Practice Further?
Inside the Tori G. Yoga Online Studio, you’ll move beyond tips and into real transformation. Our classes don’t just stretch you—they strengthen your foundation, refine your technique, and support you in evolving your practice with purpose.
Expect:
- Weekly livestream classes.
- A huge on-demand classes library.
- A proven path to progress—no guesswork, no fluff.
- Individual coaching through 1-to-1 sessions and monthly Live Q&A Sessions.
Start your first month for $37 today and discover how stable, strong, and free your body can truly feel.
👉 Join the Studio Now
Author